Llego el fin del semestre y es hora de hacer autocrítica y reflexionar. sobre mi trabajo en la clase de INF 103. Fue una experiencia totalmente nueva para mi realizar este blog, nunca había tenido la experiencia de hacer una página web y me gusto mucho aprendi, como poner links, poner fotos, videos, gifs,etc, fue una experiencia muy innovadora de la que no me arrepiento, las tareas todas fueron interesantes, mis dos tareas favoritas fueron, nuestros proyecto final (Dark Web) que me ayudó a entender cómo funciona la web y lo peligrosa que es si no la utilizamos bien y la tarea de programación porque fue divertida y aprendi lo basico de como se programa a una computadora.

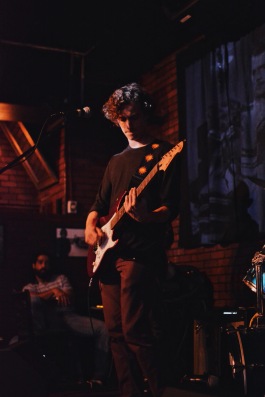
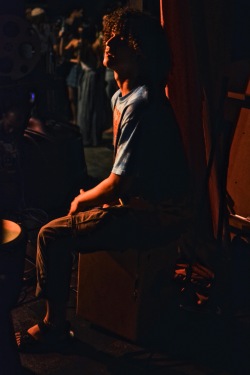
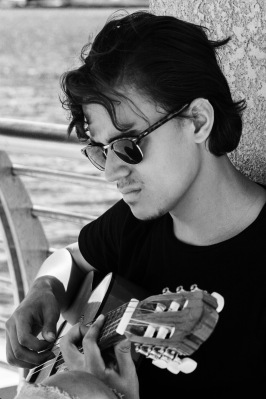
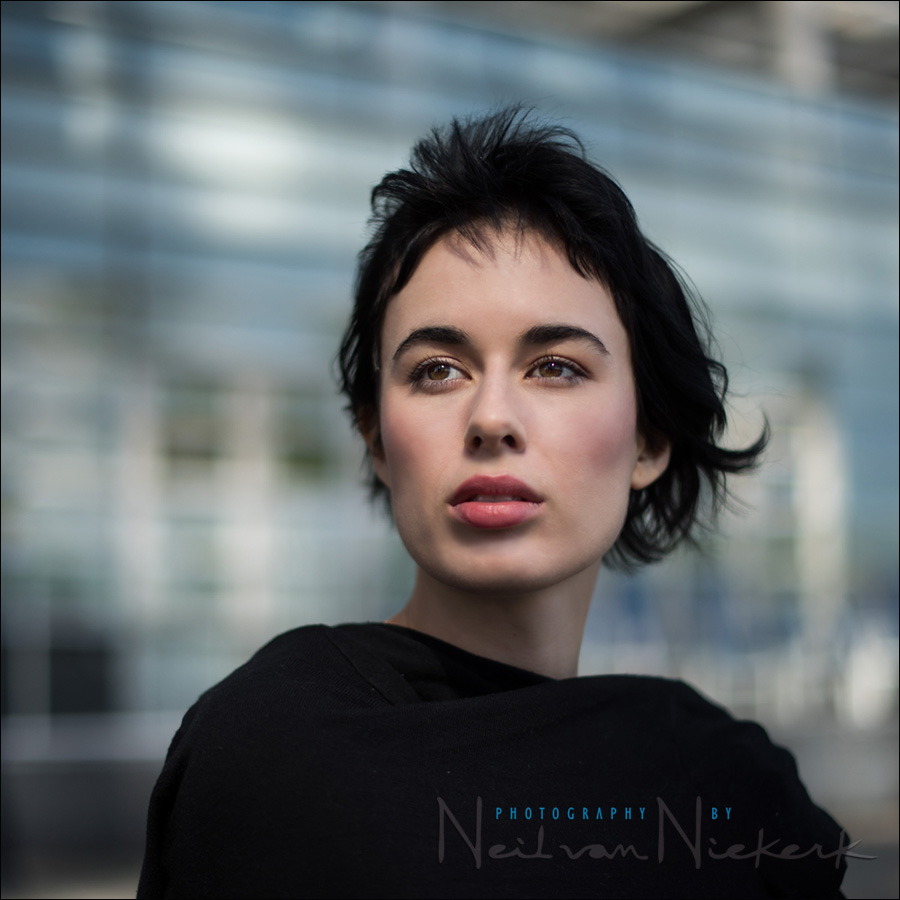
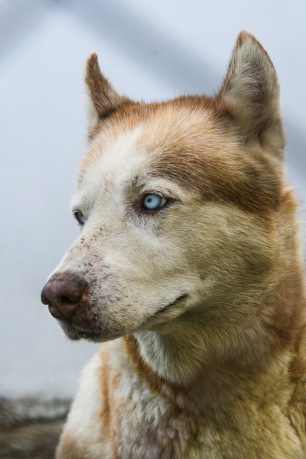
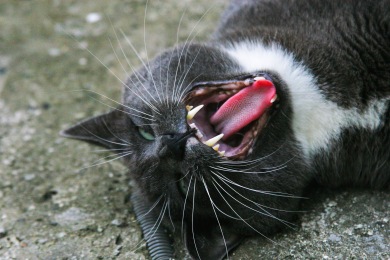
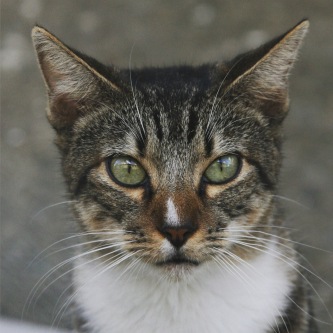
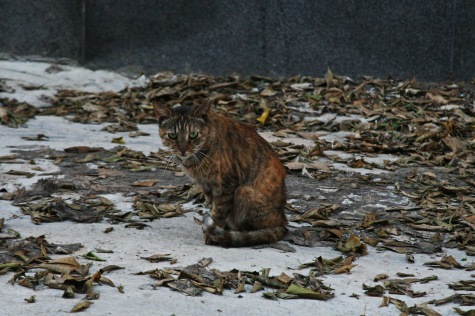
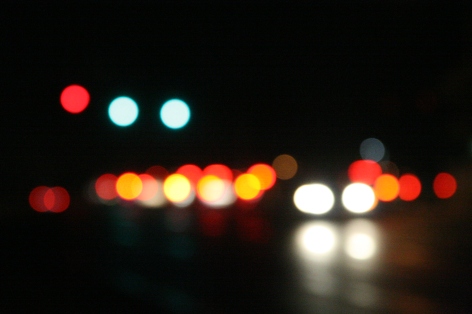
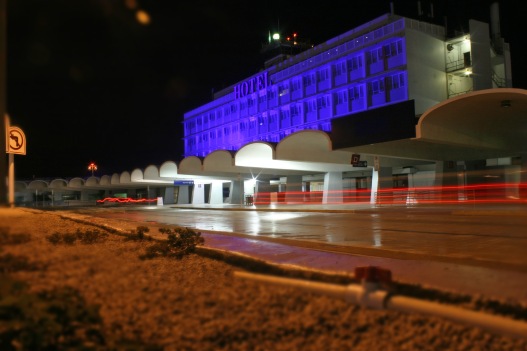
Cumpli con el objetivo de hacer todas las tareas de la clase y también hice publicaciones sobre el tema del blog: Fotografía, fue una experiencia divertida y que me ayudo a mi también para aprender más de fotografia, conoci gente nueva que le gustaron mis fotos y logre enseñar lo poquito que se a las personas que vieron mi blog. No me despido aqui de “Axphotography” voy a seguir publicando contenido de fotografia por mi cuenta y espero que disfrutaran mi contenido hasta el momento muchas gracias.
Post: 17
Tarea1 – Welcome To My New Blog
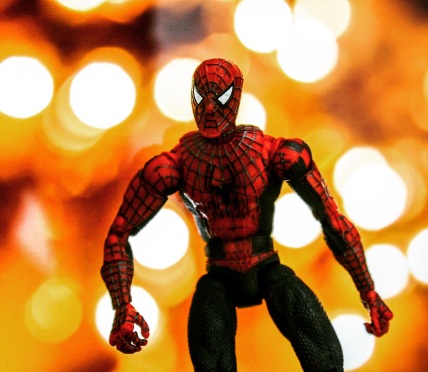
Tarea2 – Experimenting with Different Media
Tarea3– The Web: My Perception (Social Addict?)
Tarea4 – My “About” Page
– Summary: INF 103-004- 15/2/18-
Tarea5– Exploring NYC
Tarea6 – Dark Web: What is It?
Tarea7 – #donotTrack
Tarea8– Trabajo Final: Dark Web
Tarea9 – Galeria de Arte – Sagrado Corazón
Tarea10 – Reflexión Final (Este Trabajo)
Views: 238 (Puerto Rico, Estados Unidos, Argentina, Uruguay, España, Portugal, India, Indonesia, Holanda, Alemania, Italia, Australia, China, Inglaterra, Canada)
Visitors: 123
Likes: 31